How to Create A SIP Application Override Policy
Objective
-
Under certain circumstances, the SIP application doesn't want firewall to perform any NAT or ALG. This can be accomplished by disabling SIP ALG or application-override policy.
-
In addition to ALG bypass, application-override policy will also bypass application identification and any layer7 (Content and Threat) inspection.
-
In this article, we will see how to create SIP application override policy.
Environment
-
All PanOS Firewalls
Procedure
Steps
:
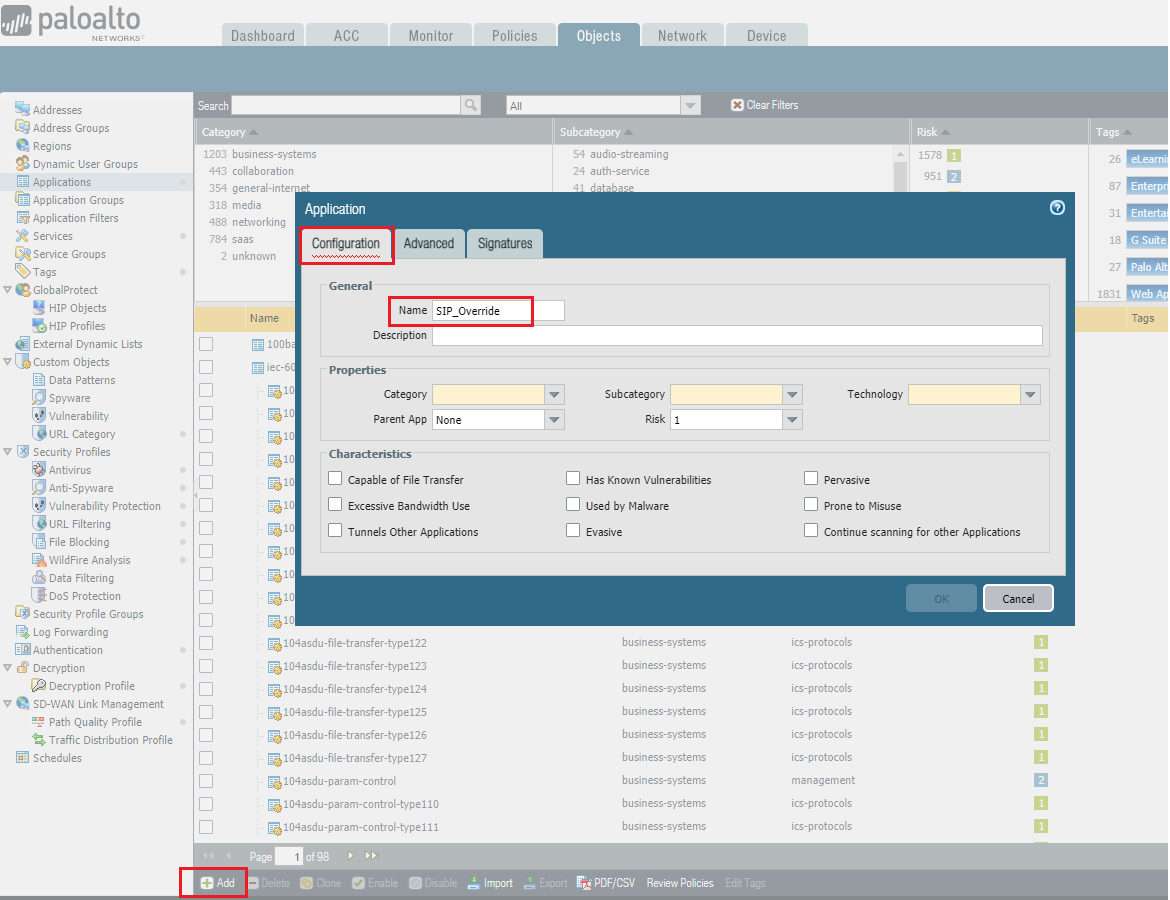
1. Create a new Custom Application for SIP. From the WebGUI, go to Objects > Applications , then click Add in the lower left.
Note: The new Custom Application name should be different than Pre-defined.
The example uses SIP_Override as the name.
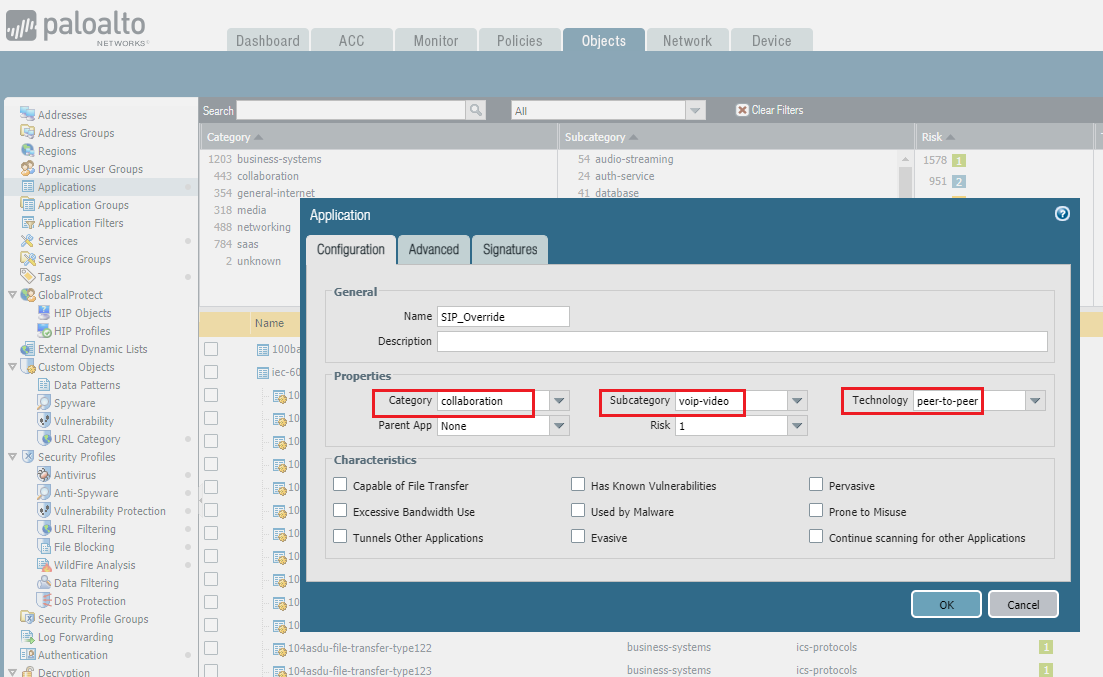
2. Select values for Category , Subcategory , and Technology . This can be copied from the pre-defined application object.
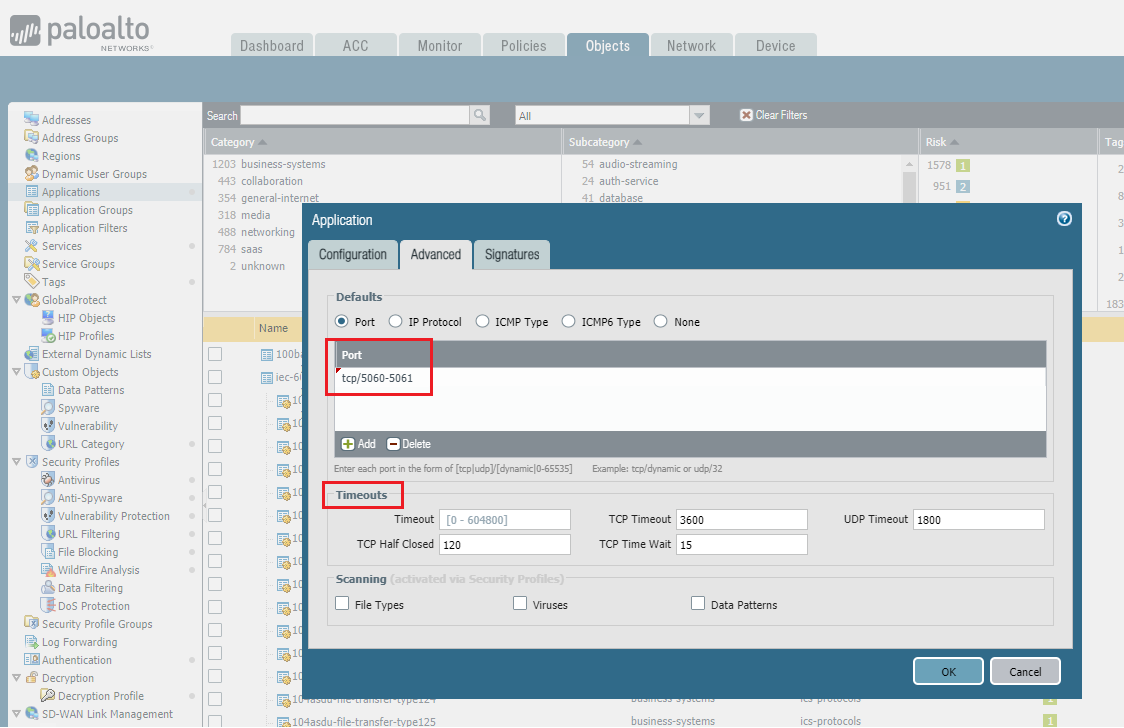
3.
Optional Step
: This just adds another layer ot detail that is not always needed.
Go to
Advanced > Defaults
, and select
Port
to list the ports in the application.
This may vary depending on VoIP vendor used so check with customer (or check in traffic logs).
In this example, we are adding tcp/5060-5061.
Timeout
values may be copied from pre-defined or check with customer.
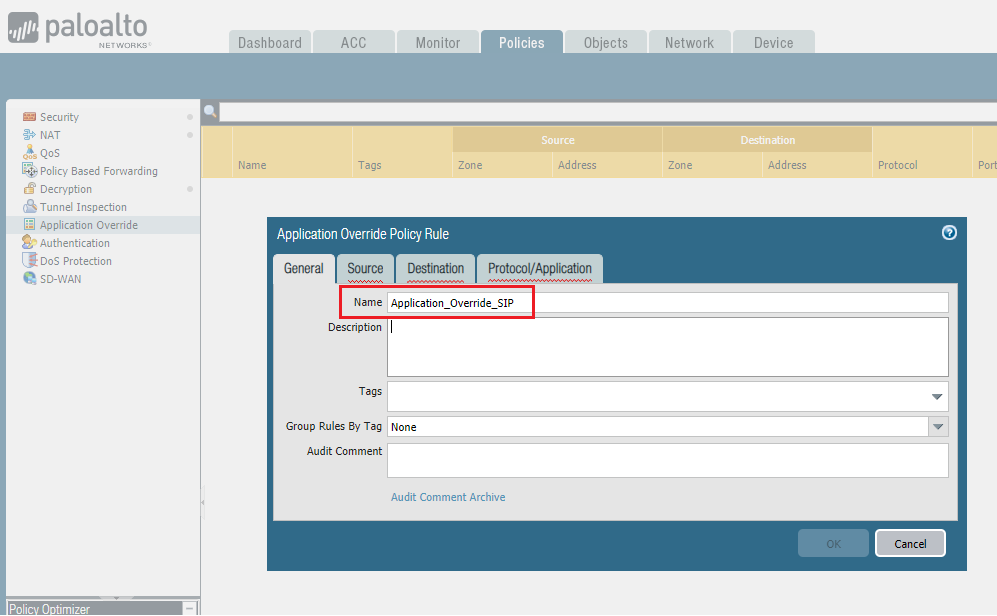
4. To create an Application Override policy, go to
Policies > Application Override
, then click
Add
.
Under the
General
tab, enter a name for the policy.
The example uses Application_Override_SIP.
5. Go to
Source
tab, click
Add
to add the
source zone
where the SIP servers/endpoints are present..
Specify
Source Address
if IPs of SIP servers/endpoints are known, otherwise leave as Any.

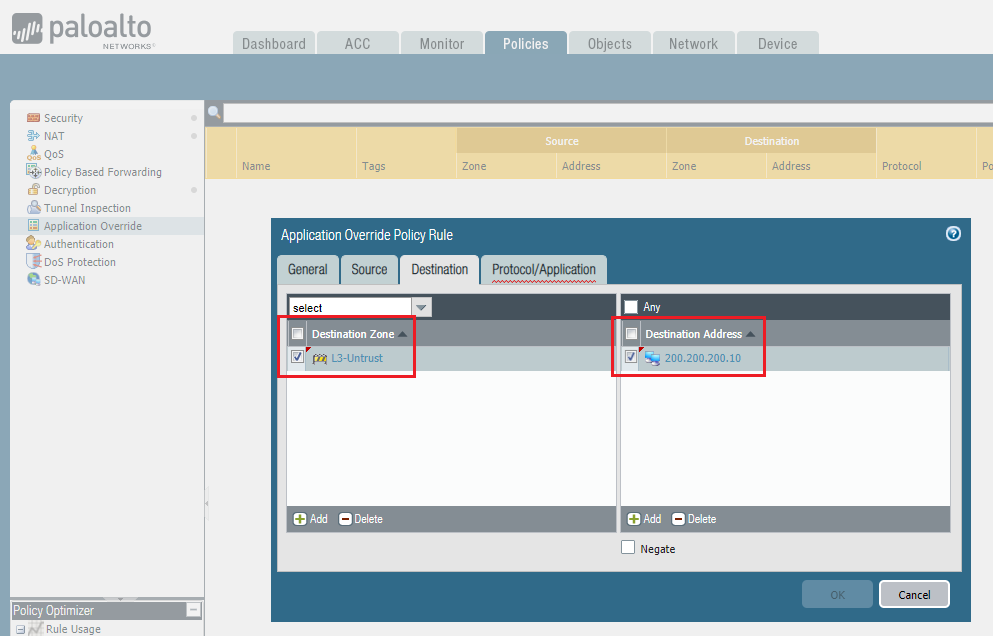
6. Under the
Destination
tab, click
Add
to add both the
destination zone
and
destination address
of the SIP servers/endpoints.
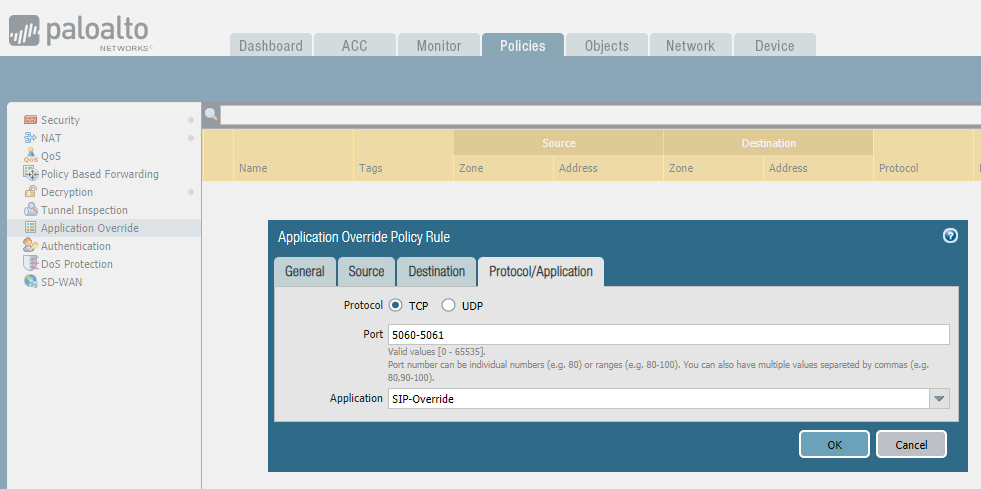
7. Under the
Protocol/Application
tab, select
TCP
or
UDP
and add
Port
depending on VoIP vendor used.
In this example, we are overriding
TCP
5060-5061 traffic.
For
Application
, use custom application object we created .i.e. SIP-Override.
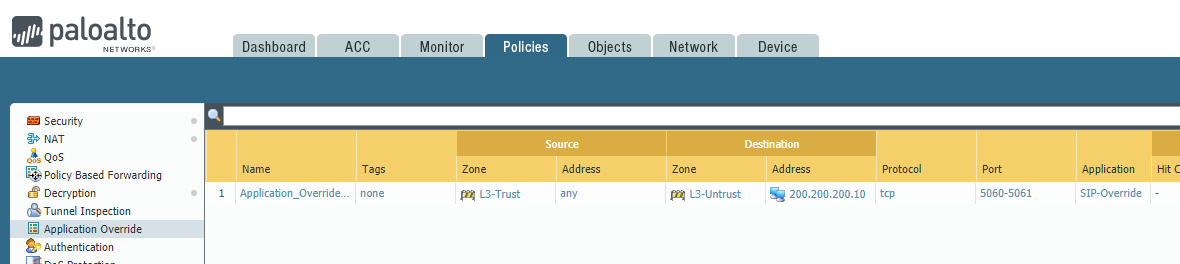
8. Click
OK.
Here you can see what the Application Override rule looks like.
Apart from creating an application override policy for SIP applications, we would also need to check:
-
Security policies for both inbound and outbound traffic to and from the internal SIP server.
-
Source and Destination NAT for the SIP servers.
-
If ALG is disabled. If not, follow the article link below to disable it.